Algolia Search Engine integration
January 2024
Once the architectural decisions are in place, the next phase involves translating that vision into tangible and functional software. A common challenge in this process is overcoming procrastination. Confronted with substantial tasks, individuals often find themselves overwhelmed by the amount of work required to reach their objectives.
This article eliminates the notion that integrating search functionality into your site is time consuming. By using an off the shelf product, it guides you through the process of seamlessly integrating a search engine in your personal site.
With that in mind, let’s get on with it!
Why Algolia?
The point of this series of articles is to demonstrate an architecture, so using an off the shelf product makes this a simpler task.
If you are using this in production, you need to make a cost effective analysis between the different options, but that’s outside of the scope of this article.
For a demo, Algolia free plan is enough, and that’s what this article is going to use. If you want to follow along, create a free plan in Algolia first.
Algolia index
Once you have access to Algolia, the first thing you want to do is create a new index.
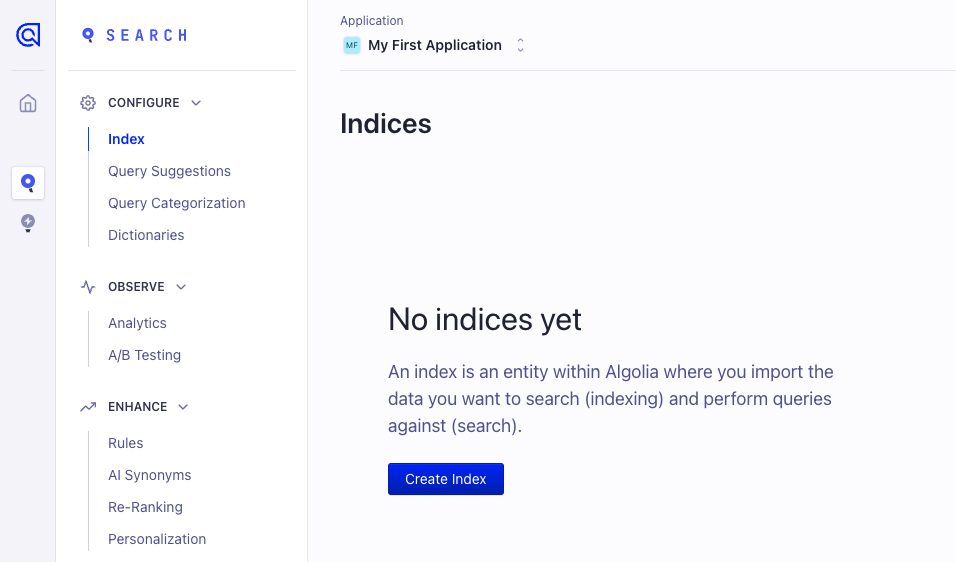
Name your index in any way you want. The index for the demo is named dev_demo. That is to explicitly show that this index is only for development:
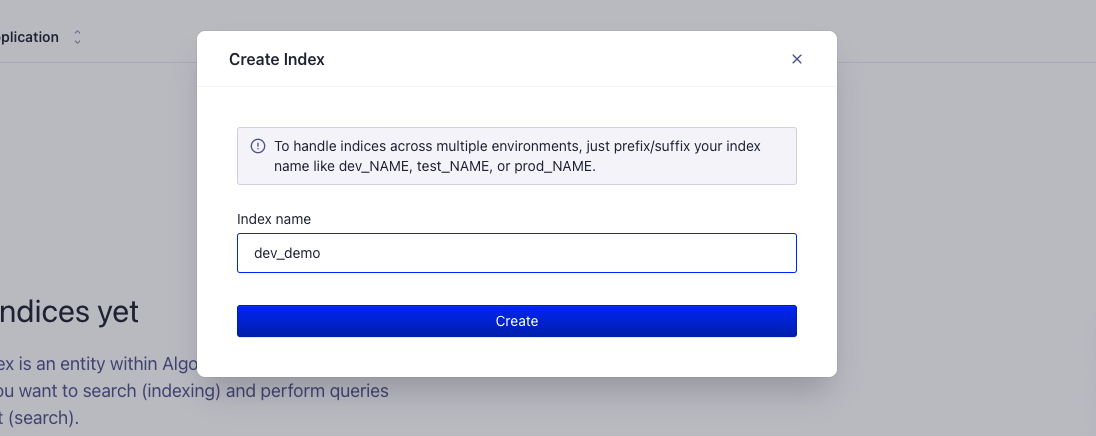
Save it and you will have an empty index. Not very useful yet…
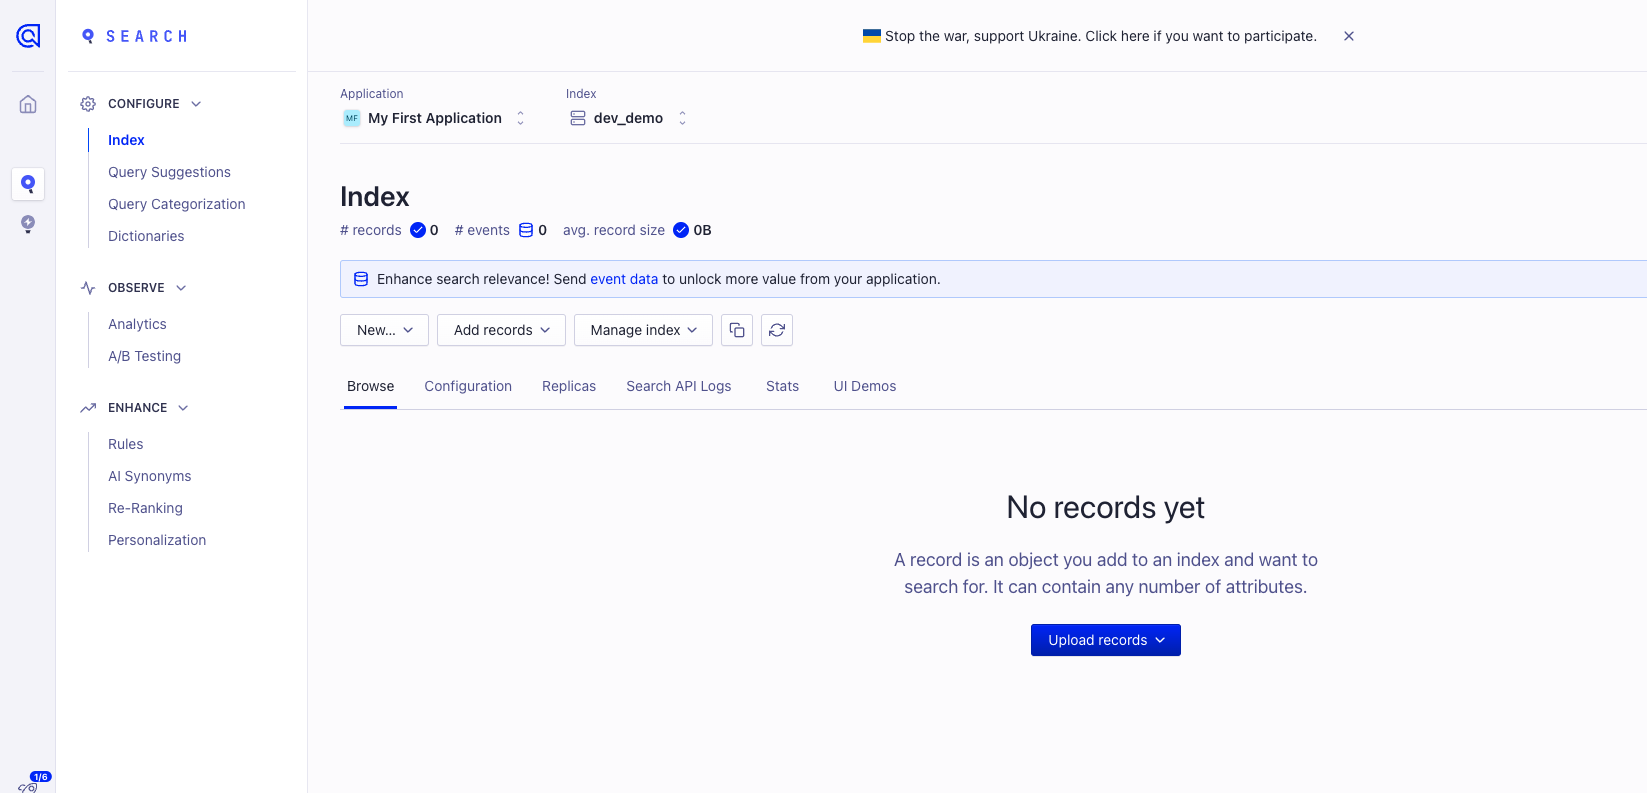
The next step is to add content. In a following article this will be done automatically, but for now, you can add the content manually.
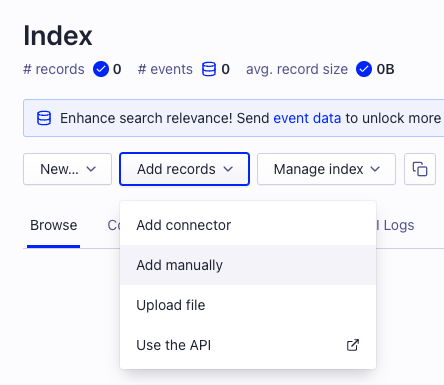
Algolia accepts content in a JSON format, but you have to think about what fields you want to define, since they’re the keys for your JSON objects.
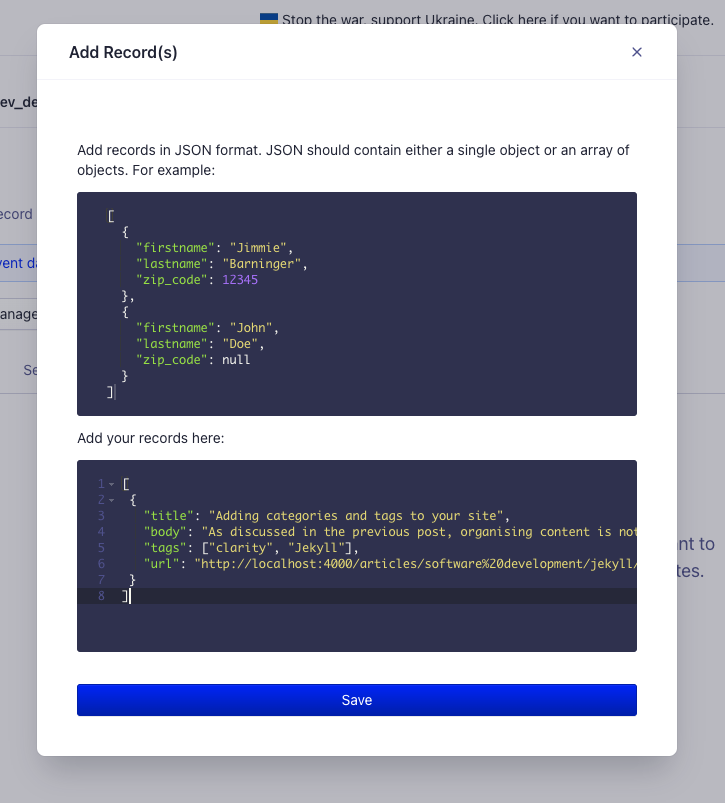
For this example, the attributes are title, body, tags, and url. You can also add multiple records, but in this case only one is added. After adding the content, your index is now almost ready:

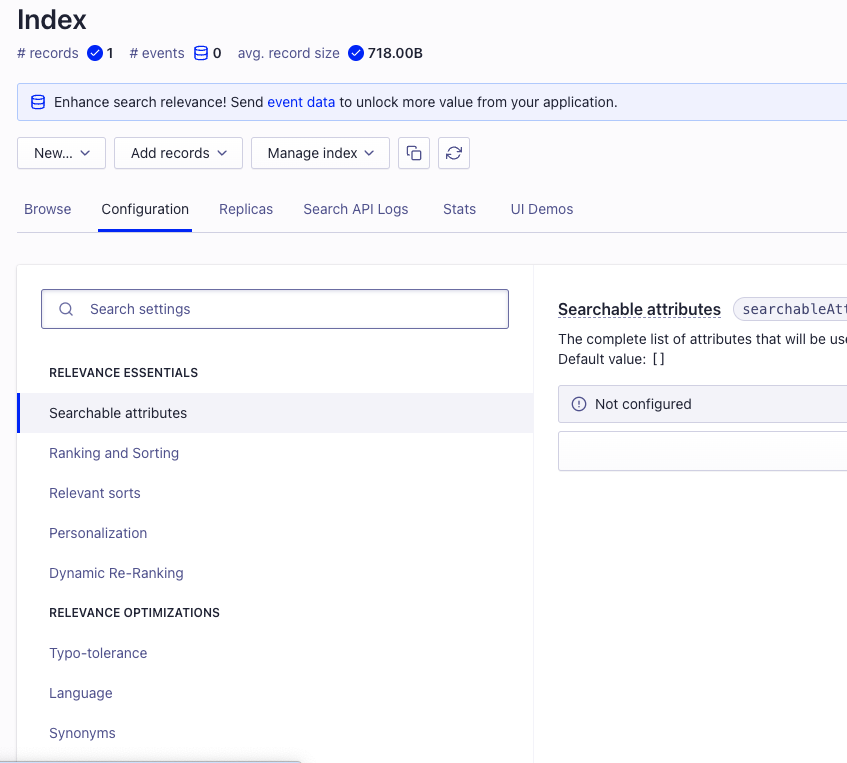
Now it’s time to configure your index. This article only covers the basics, but Algolia has a lot of options like typo tolerance, sorting, and ranking, etc. Check out their documentation if you want to know more. For now, find out how to configure searchable attributes:
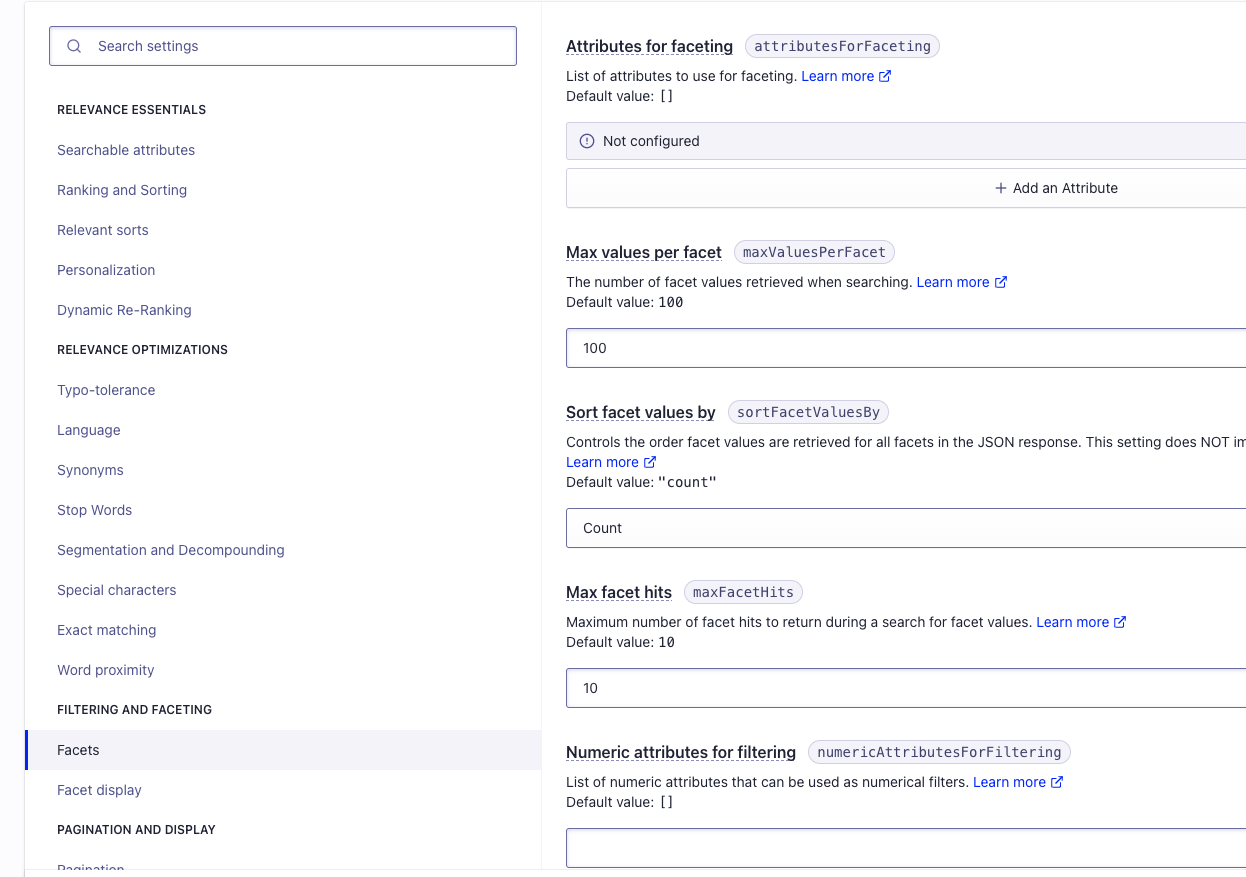
And how to configure facets:
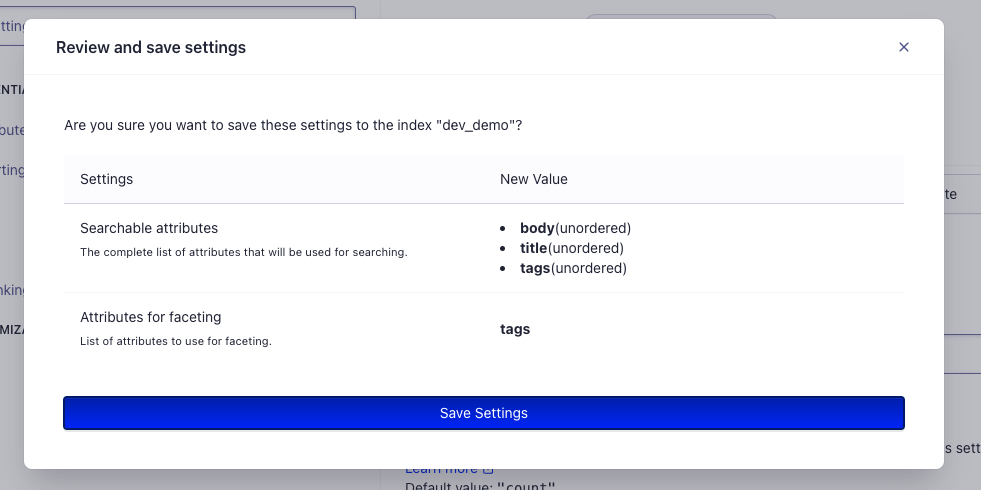
Review that everything is correct and save the changes:
With the index configured and the content added, it’s time to start the integration.
Initial configuration
After creating your index, it’s time to start integration Algolia in your site.
The first step is to configure your search client with your application ID and the token. You can find those in Algolia.
const searchClient = algoliasearch('APPLICATION-ID', 'READ-ONLY-TOKEN');
Then, you need to create your search by indicating the name of the index you want to use:
  const search = instantsearch({
    indexName: 'INDEX-NAME',
    searchClient,
  });
You are now ready to start integrating the widgets.
Algolia widgets
Algolia has a collection of widgets that you can use on your site to customize search as much as you want.
For the demo, this site uses the widgets SearchBox, Hits, and RefinementList.
SearchBox
This widget is the one that makes the query to Algolia based on the value of the input field linked to it. Have a look at the official documentation if you have a minute.
In your HTML, you need to add an id for the element you want the search to show up on:
  <div id="searchbox">
  </div>
And in your javascript, you need to add the widget specifying the container id:
  search.addWidgets([
    instantsearch.widgets.searchBox({
      container: '#searchbox',
    }),
    ...
  ])
This will add the seach to your site and you can start searching.
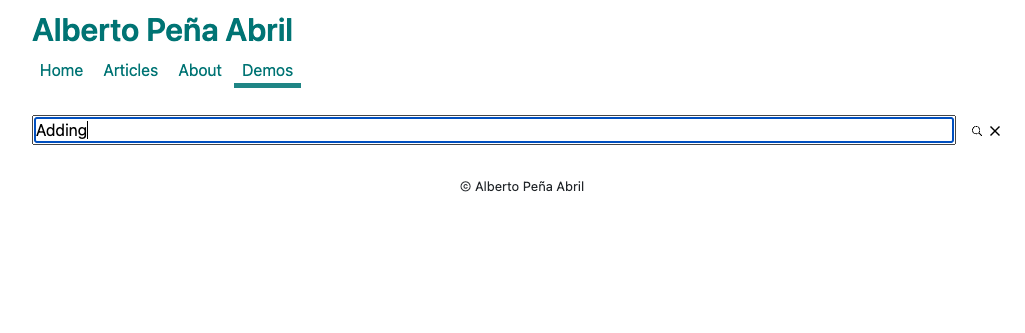
You won’t see any results though, for that, you need to add the Hits widget.
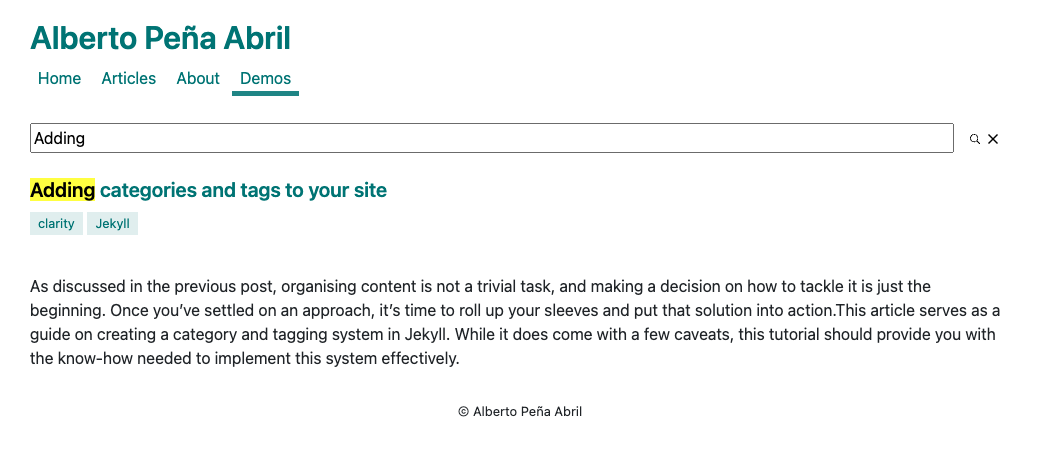
Hits
This widget is the one that shows the results from a query. Again, check the official documentation for more info.
In your HTML, you need to add and id for the element you want the hits to show up on:
  <div id="hits">
  </div>
And in your javascript, you need to add the widget specifying the container id. There is an option to add a template for a hit, which is what is used in this example:
  search.addWidgets([
    ...
    instantsearch.widgets.hits({
      container: '#hits',
      templates: {
        item: (hit, { html, components }) => {
            let tagNodes = hit.tags.map((tag) => {
             return html`<a class="tag" href="/tags/${tag}">${tag}</a>`
            })
            return html`
            <article>
              <h3>
                <a href="${hit.url}">${components.Highlight({ hit, attribute: 'title' })}</a>
              </h3>
              <div class="tags">
                ${tagNodes}
              </div>
              <p class="date"><small><strong>${components.Highlight({ hit, attribute: 'date' })}</strong></small></p>
              <p>${components.Highlight({ hit, attribute: 'body' })}</p>
            </article>
          `
          },
      },
    }),
    ...
  ])
With this change, searching now shows results:
The last widget this demo uses is the RefinementList.
RefinementList
This widget is the one that shows the facets based on the search. Again, check the official documentation for more info.
In your HTML, you need to add and id for the element you want the facets to show up on:
  <div id="facets">
  </div>
And in your javascript, you need to add the widget specifying the container id. The widget has an option to add the attribute you want to use for the facets:
  search.addWidgets([
    ...
    instantsearch.widgets.refinementList({
      container: '#facets',
      attribute: 'tags'
    })
  ]);
With this, your search will also show information about the facets you have defined. In this case, the tags attribute:
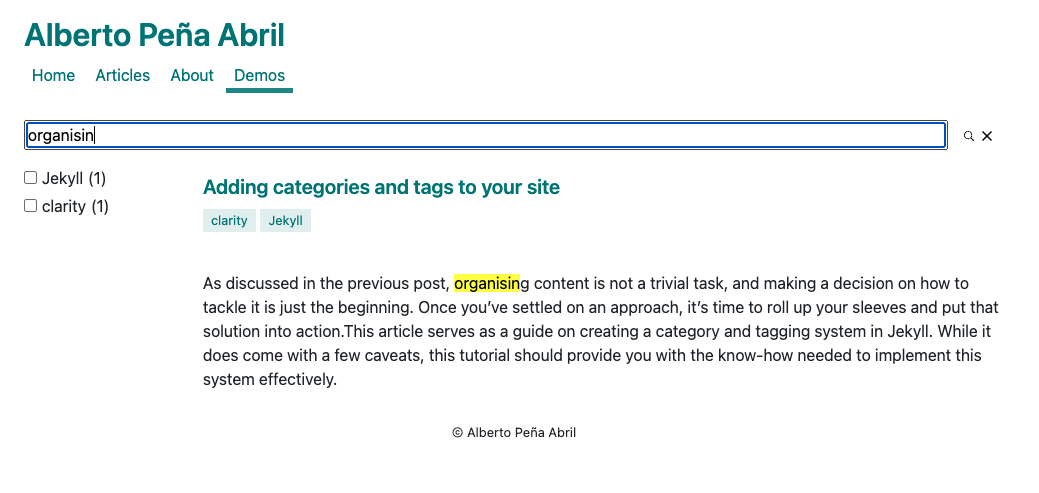
Not bad for less than an hour of work!
Limitations of the Algolia free plan
Keep in mind that the Algolia free plan has a limit of 10000 queries per month, which is very low. It’s enough for a demo, but the moment you need to make it operational you need to start paying for it.
That’s all!